Circular Saw Shingle Cutting: Minimal Tear-Out Guide
By Maya Tan • 4th Apr
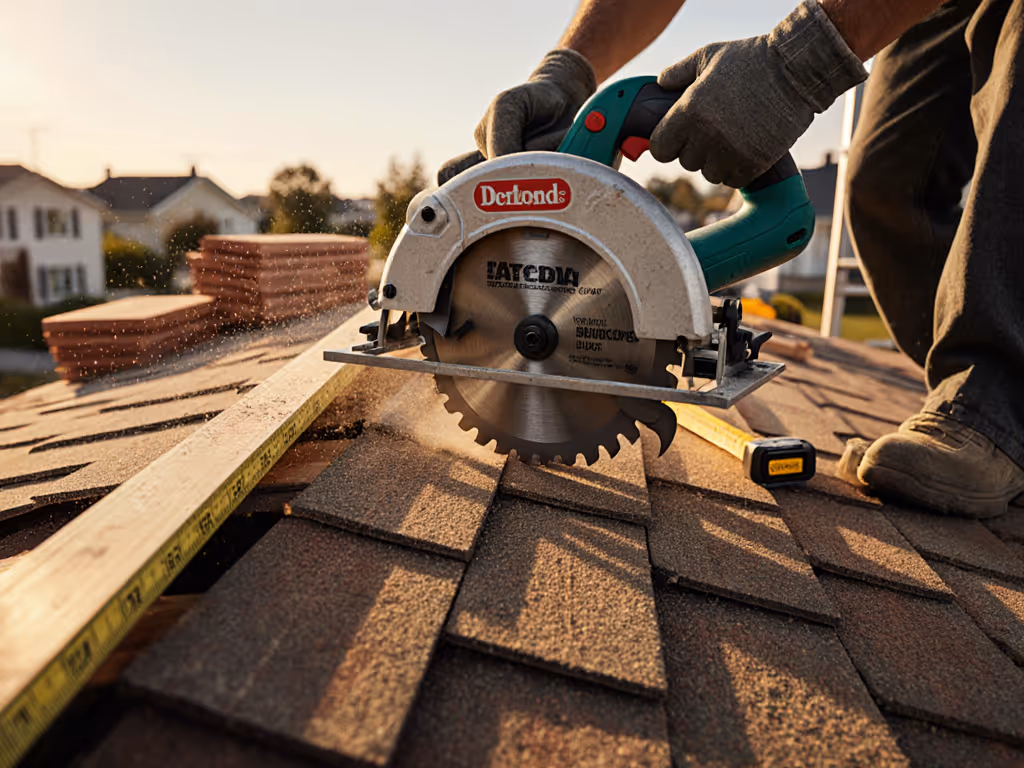
Circular saw roof shingle cutting and shingle removal techniques demand precision. One wandering blade and your tear-out multiplies, debris doubles, and cleanup bleeds time. This guide benchmarks methods, blade choices, and setup systems to deliver repeatable, square cuts with minimal edge damage. For a deeper primer on splinter-free cutting, see our tear-out prevention guide.
I've spent enough time on roofs measuring deviation by material and clamping makeshift guides to know: outcomes over claims. A poorly cut shingle isn't salvageable. A cleanly severed one isn't wasted. That two-degree drift during a cabinet install taught me this obsession, and it transfers directly to roof work where stakes are higher and visibility worse. Here's what the metrics show.
FAQ: Circular Saw Shingle Cutting for Minimal Tear-Out
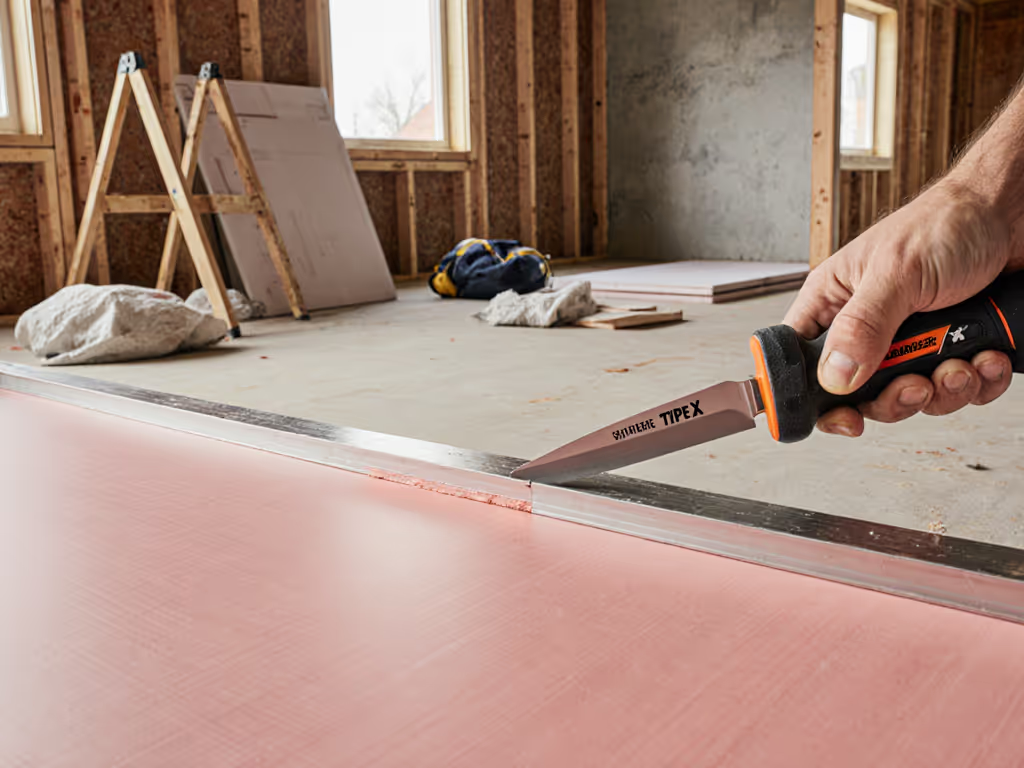
Why Does a Circular Saw Tear Out Shingles More Than a Utility Knife?
Circular saws cut into the material. Utility knives cut with the grain of the fiberglass mat, pulling the blade along the back face. A circular saw's tooth engagement is aggressive, each tooth loads energy into the asphalt and granule layer simultaneously. At 3,500 to 5,500 rpm, the blade front advances faster than the fibers can separate cleanly, shattering the bond between the mat and the topcoat.
Hook blades and score-and-snap methods don't fight this physics. They avoid it. A circular saw with the wrong blade or technique magnifies the problem on each pass.
What Blade Specs Reduce Tear-Out on Roof Shingles?
Blade geometry matters more than brand loyalty. Log these variables:
- Tooth count: 40-60 teeth for crosscut action on shingles. Fine teeth (80+) load heat without cutting speed gain on asphalt; coarse (24 teeth) break granules and fiberglass unevenly.
- Grind: Alternate Top Bevel (ATB) handles shingles better than flat-top grinds. ATB teeth slice laterally before plunging, reducing splinter paths.
- Kerf width: Thinner kerfs (0.042"-0.060") generate less heat and waste. Demolition blades run wider (0.100"+), designed for speed and nail-cutting, not finish.
- Hook angle (rake): Positive rake (15°-20°) works for shingles; negative rake creates drag and tear-out.
- Carbide quality: Robust carbide resists dulling on granule grit. Budget blades glaze in 30-50 linear feet on shingles; premium carbide stays sharp 200+ feet.
Test a blade on scrap shingles before committing to tearoff. Time three 4-foot cuts and measure edge deviation with a straightedge. Any blade wandering >1/16" over 4 feet is dulling or flexing; switch immediately.
Does Blade Direction (Top or Bottom Tooth Feed) Affect Tear-Out?
Yes. Standard blade rotation (teeth feeding downward on the front of the saw) drives granules into the top surface, causing splintering. Cutting from the back of the shingle (flipped face-down) lets the blade pull torn fibers upward, away from the finished face. This is why utility knife-users flip shingles and work on the asphalt side; a circular saw can't easily invert thick-layered roofing in place.
Practical shift: On a tear-off where cut quality is secondary to speed, this matters less. On overlay or precision valley cuts where edge appearance matters, avoid standard top-feed orientation whenever the setup allows a back-cut pass.
What's the Minimum Safe Setup to Prevent Tear-Out and Binding?
Tear-out often couples with blade binding. The blade doesn't glide; it snags, lurches, and splinters.
- Support both sides of the cut line. Shingles flex and taco during cut. Clamp a plywood strip under the cut path, backing reduces deflection by 60-80%, lowering tear-out variance significantly. Measure the gap between the fence and the blade: 0.375" to 0.5" is standard for a 7.25" circular saw.
- Use a guide fence or track. Even a straight edge clamped perpendicular to the blade line reduces wander. For jig options and step-by-step setup, see our repeatable rip cuts guide. Record cut straightness with a 4-foot level; deviation should stay under 1/8" per 10 feet for clean edges.
- Clamp the workpiece to the roof. Shingles on a slope shift under blade pressure. Two C-clamps (one ahead of the cut, one behind) lock the shingle in place and eliminate binding surprises.
- Feed speed: Slow, steady pressure. Rushing forces the blade into the material faster than teeth can clear chips, causing binding and heat buildup. Listen for a steady, even tone; sudden pitch changes signal binding.
- Dust collection: Granule dust clogs teeth and traps debris between blade and shoe, increasing friction and lateral flex. Connect a shop vac in real-time. Learn why airflow and capture matter in our circular saw dust physics explainer. Collected dust also shows blade condition: fine dust means teeth are still sharp; coarse chunks mean carbide is dull and shattering rather than cutting.
How Do You Prevent Binding on Tear-Off Cuts (Ridge-to-Gutter Strips)?
Tear-off cuts prioritize speed over finish, but binding still costs time and creates safety risks. The standard approach (vertical strips from ridge to gutter, then horizontal sections) works because:
- Ridge cap cuts first. The ridge has no nails running under the cut path. Cutting down the center of the ridge caps meets the lowest resistance, so the blade moves freely. This initial cut breaks shingle continuity and creates weaker fracture lines for subsequent cuts.
- Vertical cuts follow. These divide the roof into strips roughly 3-4 feet wide. Vertical orientation means the blade isn't fighting gravity or the full weight of the upper shingle layers. Start each cut with light pressure to establish the line, then feed steadily.
- Horizontal cross-cuts last. These break strips into roughly 16" squares, small enough to toss directly into a dumpster or trailer. Horizontal cuts encounter resistance from nails in the layers below. Adjust blade depth to just pierce the shingles and tar paper, stopping before hitting the plywood deck. For exact settings by material, use our blade depth guide. A test cut (6 inches long, just enough to hit sawdust on the deck) confirms depth.
Time each method: Ridge-to-gutter tearoff with horizontal subdivisions typically runs 25-35 minutes on a 20-square roof, compared to 40-50 minutes without horizontal breaks. Cleaner material handling and fewer double-handles justify the extra cuts.
What Roofing Safety Protocols Must Accompany Circular Saw Cuts on Steep Roofs?
Shingle cutting best practices aren't negotiable when you're 20 feet up. Roofing safety protocols:
- Fall protection: Tie off to the ridge beam, a roof bracket, or scaffolding rated for your weight plus 50%. Even a 6-foot fall on shingles ends badly.
- Footwear: Non-slip soles gripped to shingles. Dust and granules create ice-like surfaces, especially on slopes >6:12.
- Kickback zones: Circular saw kickback is violent and unpredictable on a roof. Clear debris and loose shingles from a 3-foot radius around your work area. Brace your legs and secure the saw with a firm grip; never reach across a running blade.
- Eyewear and dust mask: Granule shards and asphalt particles fly at high velocity. N95 or P100 rated masks block silica dust (OSHA requirement indoors; critical for health outdoors). Polycarbonate safety glasses prevent eye damage from ejected debris.
- Electrical safety (corded saws): Keep the cord uphill from you. Wet shingles and standing water increase shock risk. Use a GFCI outlet.
- Blade guards: Keep the upper and lower guards in place. Never wedge or remove guards to "see better."
- Never cut on a ladder. Roof cuts require both hands and stable footing. Ladders and circular saws don't coexist safely.
How Does Material Variance Affect Tear-Out Across Different Shingle Brands?
Shingles aren't uniform. Granule adhesion, mat density, and asphalt composition vary by manufacturer and batch. Test before committing.
- Laminated (architectural) shingles: Thicker, multi-layer construction. Tear-out is more visible because the accent layer sits on top. Blade must be sharper; dull blades shatter the visible layer.
- Three-tab shingles: Thinner, single-layer. Binding risk is higher because less material means less deflection resistance. Use backing board under all cuts.
- Synthetic and composite alternatives: Often harder than asphalt. Carbide blades dull 30-40% faster. Test small samples to establish baseline speed and tear-out rate before large tearoff projects.
Log results in a simple table: Shingle Type | Blade Spec | Feed Speed (linear feet/minute) | Tear-Out Rating (1-5) | Blade Dullness After Cut. Repeatable beats remarkable, once you've measured your setup on Brand X, you can replicate it.
Where Should You Not Use a Circular Saw for Shingle Cutting?
I won't recommend unguarded cuts. Avoid a circular saw if:
- The cut requires precision within 1/16" and intersects vent pipes, flashing, or trim. A utility knife with a hook blade or a score-and-snap method gives you finer control.
- You're working overhead or in an awkward angle where both hands can't secure the saw firmly. A cordless jigsaw or rotary tool is safer.
- Shingles are wet or frozen. Wet asphalt clogs teeth and loses grip; friction heat can re-melt asphalt and gum the blade. Frozen shingles shatter unpredictably. Wait for dry, moderate temperatures (50°F-80°F is optimal).
- Loose nails, staples, or metal flashing sit directly under the cut path. Circular saws cut through nails but suffer wear and sudden binding. Hand-cut around fasteners when possible.
Further Exploration
Measured performance is the only honest path forward. Track your setup, blade model, feed speed, backing material, dust collection on/off, and log deviation and time on scrap before your real job. A 15-minute test run prevents a day of rework and frustration. Clean, fast cuts come from systems, not luck. Once you know what your saw, blade, and technique deliver on shingles, you'll replicate that precision every time.
Related Articles