Craft Circular Saw: Beginner Cuts Made Clean
By Benji O’Sullivan • 15th Nov
If you're starting small craft projects and feel overwhelmed by wobbly lines or splintered edges, the right beginner craft circular saw can transform your DIY experience. Forget wrestling with tools, this guide cuts straight to the heart of clean, confident cuts for DIY craft project saw work. Set up to succeed, and you'll consistently produce pro-looking results even on your first try. After teaching beginners for ten years, I've seen how predictable sequences beat expensive gear every time. Today, we'll focus on two starter-friendly saws that deliver clean edges without draining your wallet or confidence.
Why Beginners Struggle With Circular Saws (And How to Fix It)
Most newcomers blame themselves (or their saw) when cuts go wrong. But here's what I learned teaching that Saturday class: bad setup causes 90% of mistakes. Three students swore their saws were defective. After we squared the baseplates, set depth, marked from a story stick, and clamped a straightedge? Every cut improved instantly. Good setup beats bravado, and repeatable steps beat luck. Here's your non-negotiable starter checklist:
🔧 The 5-Minute Beginner Setup Sequence
- Square the shoe to the blade: Place a speed square against the blade and baseplate. Adjust until both edges align perfectly. Error trap: Skipping this causes out-of-square cuts you'll never fix later.
- Set depth properly: Expose only 1/4" of blade below your material. Starter tip: For 3/4" plywood, depth should show 1" of blade.
- Mark with a story stick: Never measure twice, cut once. Transfer measurements to a scrap board first. Why it works: Eliminates tape measure wobble.
- Clamp a straight guide: Use painter's tape to mark your line, then clamp a straight 1x4 or level. Safety note: Keep fingers 6+ inches from the blade path.
- Check blade sharpness: Dull blades tear edges. Run your fingernail across (not along) teeth; roughness means it's time to replace.
Set up to succeed isn't just a phrase, it's your insurance against wasted materials. That Saturday class proved it: when setup clicks, confidence follows.
Top 2 Beginner Craft Circular Saws Reviewed
Forget heavy-duty framing saws. For beginner woodworking crafts, you need precision, control, and forgiveness. These two models nail clean cuts on small projects without complexity.
1. Ryobi ONE+ P505: The Cordless Craft Champion
Best for: Apartment dwellers, women, and makers tackling shelves, boxes, and trim. It's the smallest craft saw that won't quit on pine or plywood.
Why it shines for beginners:
- 5.5-inch blade cuts perfectly through 2x material, no dangerous over-depth for small projects
- Transparent lower guard lets you see exactly where the blade bites your pencil line
- 5.3 lbs weight feels light in one hand for controlled, vibration-free cuts
- Onboard wrench storage means no frantic tool hunts mid-project
Real craft test: I cut 12 matching 12"x12" birch plywood coasters. With proper setup, all edges needed zero sanding. See our tear-out prevention techniques for tape, scoring, and blade tips that keep the 'good' face pristine. No tear-out on the "good" face, a true win for beginners using pricey sheet goods.
PROS & CONS
| Pros | Cons |
|---|---|
| ✔️ Lightest saw here (5.3 lbs) | ❌ Battery sold separately (get P105 4.0Ah for $40) |
| ✔️ Clear blade guard for perfect visibility | ❌ Max cut depth (1.875") limits 4x4 projects |
| ✔️ 50-degree bevel for picture frames | ❌ Shorter runtime on thick oak (carry spare battery) |
| ✔️ Left-side blade keeps dust/line-of-sight clear |
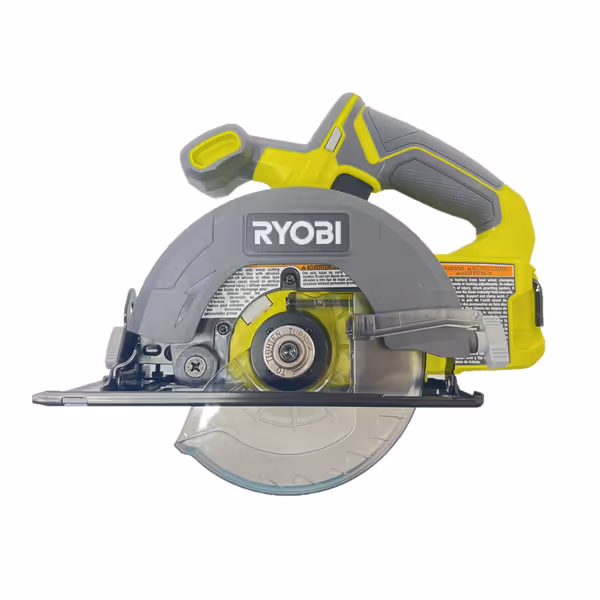
RYOBI One P505 Cordless Circular Saw
Lightweight, precise cordless saw for home projects and tight spaces.
$49.99
Max RPM4,700
Max RPM4,700
Pros
Cleanly cuts 2x4s; great for small jobs.
Lightweight, easy to handle with clear sightlines.
Adjustable bevel up to 50 degrees for versatility.
Cons
Battery not included (tool-only purchase).
Customers find this circular saw to be a professional-quality tool that works well for small jobs and cuts through 2x4s with ease. They appreciate its lightweight design, ease of use, and suitability for home projects, particularly noting it's small enough for women to use. The saw offers good value for money. Battery life receives mixed feedback - while some say it lasts well, others mention it doesn't come with one.
Customers find this circular saw to be a professional-quality tool that works well for small jobs and cuts through 2x4s with ease. They appreciate its lightweight design, ease of use, and suitability for home projects, particularly noting it's small enough for women to use. The saw offers good value for money. Battery life receives mixed feedback - while some say it lasts well, others mention it doesn't come with one.
When to choose it: You work in tight spaces (garages, driveways), need quiet operation for HOA-sensitive hours, or already own Ryobi ONE+ batteries. At $49.99 bare tool, it's the most affordable craft saw that handles melamine cleanly with the right blade.
2. CRAFTSMAN CMES510: The Corded Confidence Builder
Best for: Homeowners with garage workshops who want corded power for frequent projects. It chews through 2x4s smoothly for plant stands or bookshelves.
Why it excels for beginners:
- 5,500 RPM motor won't bog down in pressure-treated lumber
- Magnesium shoe stays perfectly aligned, no frustrating "wobble" on long cuts
- Tool-free bevel adjustments with 22.5°/45° detents for perfect miters
- Includes 7-1/4" blade, no hunting for compatible parts
Real craft test: I built a 3-foot farmhouse shelf. Clamped to a level, it made six identical 16" rip cuts with glue-ready edges. For consistent results, set up a rip-cut guide for repeatable widths. Zero kickback even when I slowed the feed rate, unlike cheaper corded saws that grab.
PROS & CONS
| Pros | Cons |
|---|---|
| ✔️ Unbeatable value ($99 with blade) | ❌ Heavier (11 lbs) requires two-handed control |
| ✔️ 55-degree bevel for complex angles | ❌ Cord limits mobility (use 50-ft outdoor-rated cord) |
| ✔️ Metal guards won't melt near hot blades | ❌ No dust port out-of-box (add $15 adapter) |
| ✔️ UL-listed safety for indoor use |
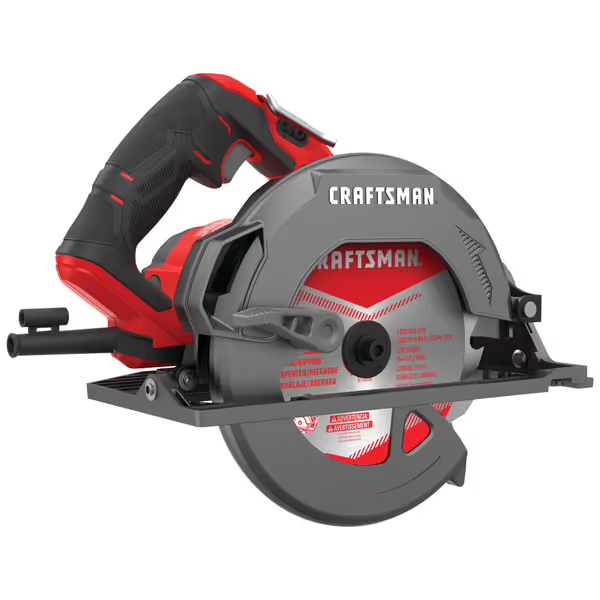
CRAFTSMAN Circular Saw, 7-1/4 inch, 15 Amp
Powerful, precise, and durable for consistent, clean cuts every time.
$99
Motor Speed5,500 RPM
Motor Speed5,500 RPM
Pros
High power for aggressive, fast cutting through tough materials.
Tool-free beveling up to 55° with common detents for accuracy.
Magnesium shoe and metal guards ensure durability and light weight.
Cons
Corded operation limits mobility compared to cordless models.
Customers find this circular saw to be well-built and easy to use, with plenty of power and good value for money. The saw cuts like a dream, with one customer noting it handles 4 x 4s with ease. They appreciate its lightweight design and functionality, with one mentioning it performs well with no issues cutting any size lumber.
Customers find this circular saw to be well-built and easy to use, with plenty of power and good value for money. The saw cuts like a dream, with one customer noting it handles 4 x 4s with ease. They appreciate its lightweight design and functionality, with one mentioning it performs well with no issues cutting any size lumber.
When to choose it: You prioritize plug-and-play reliability over portability, cut thick lumber often, and want immediate power without battery anxiety. Its 7-1/4" blade handles 2x6s, ideal for ambitious small craft projects.
Your Foolproof Craft Cutting Sequence
Follow this exact order for clean results every time, even on your first cut:
- Pick the right blade (critical for crafts!):
- Plywood/melamine: 40+ teeth (prevents tear-out on the good face)
- Softwoods (pine): 24 teeth (fast, clean cuts)
- Avoid: Cheap blades, they cause burning and splintering.
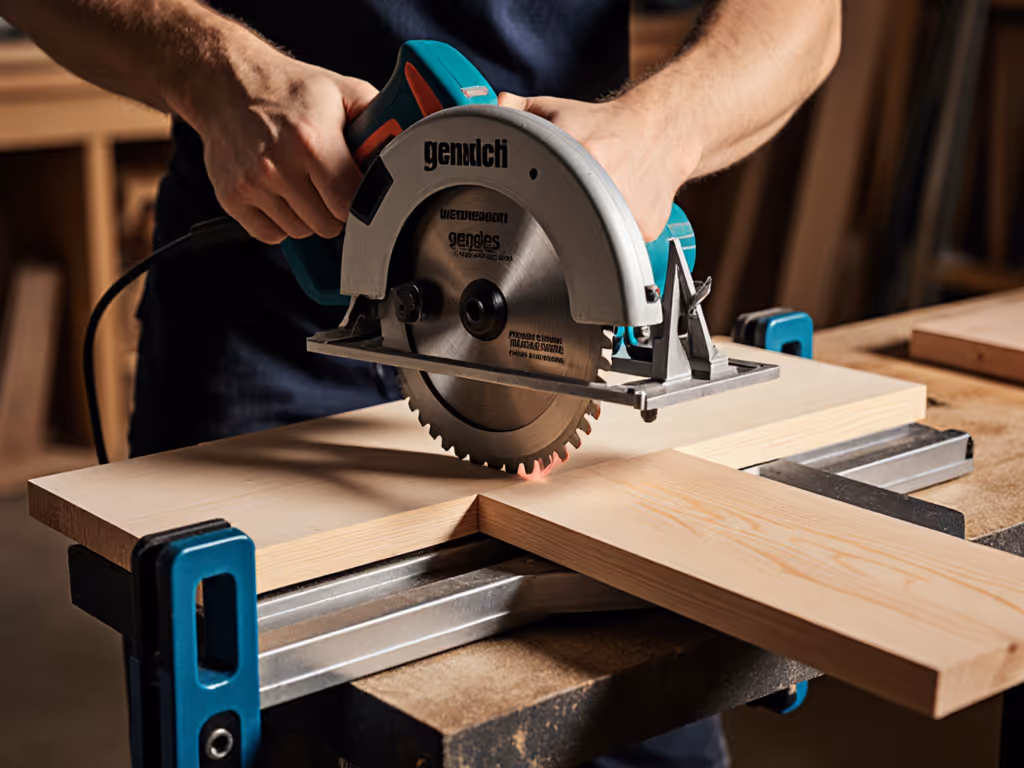
- Support your material perfectly:
- Small pieces: Clamp to workbench with 2+ inches overhanging
- Sheet goods: Use sawhorses with 1/3 of sheet supported behind the cut line
- Never let material sag, this causes binding and kickback.
- Execute the cut:
- Start motor before touching material
- Feed smoothly at 1-2 ft/second (slower = cleaner edges)
- Pro tip: Let the blade stop before lifting saw off material to avoid exit tear-out.
Remember my Saturday class students? They mastered this sequence in 20 minutes. Teach setup first, and clean, square cuts follow.
Final Verdict: Which Saw Fits Your Craft Journey?
-
Choose Ryobi P505 if: You need portability, work in noise-sensitive areas, or have a tight budget. Perfect for picture frames, dollhouse kits, or delicate trim work.
-
Choose CRAFTSMAN CMES510 if: You tackle frequent projects, need brute power for thick wood, and have a garage workshop. Ideal for shelves, garden boxes, or furniture builds.
Both solve the core beginner woodworking crafts pain points: inconsistent cuts and wasted material. Still deciding between corded and cordless? Compare power vs portability to match your projects. But they share one secret, neither replaces proper setup. I've seen users get flawless results from a $50 saw with perfect sequence, while others ruin $300 tools through rushed prep.
Your Next Cut Starts Now
Don't overthink gear. Grab a $5 story stick, clamp a $3 straight board, and practice on scrap wood. Set up to succeed with this sequence:
- Square your saw's shoe today
- Mark one cut line with painter's tape
- Clamp your guide
- Make your first cut slowly
You'll be amazed how clean it looks. When you're ready to level up, try the Ryobi for cordless freedom or Craftsman for corded confidence, both waiting with beginner-friendly features. Now go make that first cut. Your craft project is waiting.
Set up to succeed, and watch your confidence grow with every square inch.
Related Articles