
Smart Saw Tech: Precision Cuts Without the Guesswork
By Benji O’Sullivan • 15th Oct

If you've ever blamed your circular saw for crooked cuts, you're not alone. The truth is, modern smart circular saw features and advanced circular saw technology are making precision cuts accessible to everyone, but only if you understand how to use them properly. Forget what you've heard about needing 'pro hands' to get clean cuts. After teaching dozens of weekend warriors and seasoned contractors, I've seen something clear: technology doesn't replace good setup, but it sure helps when you've got the basics right. When three students in my Saturday class kept blaming their saws for bad cuts, we took ten minutes to square their shoes, set proper depth, and clamp a straightedge. Suddenly, every cut improved. That's when I realized: good setup beats bravado, and repeatable steps beat luck every time.
1. Before the Tech: The Foundation of Good Cuts
No amount of smart features matters if your saw's not properly aligned with your workpiece. Before engaging any high-tech features:
- Check your shoe plate is square to the blade (use a speed square against the blade and shoe).
- Set your depth so the blade extends no more than 1/4" below your material.
- Clean sawdust from the base plate where it contacts your work surface.
- Use a story stick instead of measuring repeatedly for consistent lengths.
This simple setup turned frustration into confidence for those Saturday class students. Remember: technology amplifies your process. It doesn't replace it. You can't Bluetooth your way out of a wobbly base plate!
2. Digital Depth Gauge: Say Goodbye to Tape Measure Guesswork
Ever ruined a cut because you eyeballed the depth? A reliable digital depth gauge eliminates this common pain point. Unlike traditional depth stops that slip or require squinting at tiny markings, digital displays show exact measurements in fractions or decimals.
Try this foolproof approach:
- Set your desired cutting depth on the digital display
- Lock the depth mechanism (most have a quick-release lever)
- Make a test cut on scrap material
- Verify the cut depth with a tape measure
- Adjust as needed before committing to your project piece
When I guided a homeowner through replacing deck boards, this feature saved him three boards he'd have otherwise ruined. The visual feedback builds confidence immediately, no more guessing if "that looks about right."
3. Laser Measurement System: Seeing Is Believing (Literally)
That frustrating moment when you think you're following your pencil line but end up wandering? A laser measurement system projects a precise cutting path directly onto your workpiece. For beginners, this is a game-changer because it turns invisible geometry into something you can actually see.
Setup tip for best results:
- In bright conditions, slightly tilt the saw toward you to keep the laser visible
- Use the laser as a second reference point, not your only guide (always maintain contact with your straightedge)
- Check laser alignment weekly with a known-straight edge
Smart setup tip: When cutting veneered plywood, position the good face down and follow the laser line on the backside to minimize tear-out.
This feature transformed how one of my students cut kitchen countertops. Instead of nervously following a pencil line while squinting, she confidently followed the bright red guide, and her cuts went from wobbly to waterfall-smooth.
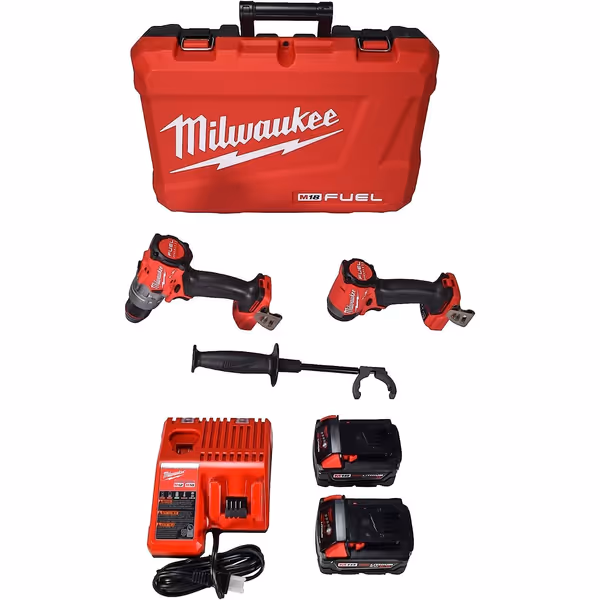
Milwaukee M18 Fuel 2-Tool Combo Kit
Unmatched power & speed for diverse tasks, boosting jobsite productivity.
$349
Motor TypeBrushless
Motor TypeBrushless
Pros
Delivers exceptional power for demanding applications.
Fastest driving speed increases jobsite productivity.
Mechanical clutch ensures consistent driving results.
Cons
Inconsistent battery life reported by some users.
Customers find this power tool set to be of great quality and excellent value, with reliable functionality and plenty of power. The build is strong, and one customer specifically praises the impact driver's performance. The battery life receives mixed feedback - while some say the batteries last long, others report they drain quickly. Additionally, several customers mention the tools emit a weird electrical smell.
Customers find this power tool set to be of great quality and excellent value, with reliable functionality and plenty of power. The build is strong, and one customer specifically praises the impact driver's performance. The battery life receives mixed feedback - while some say the batteries last long, others report they drain quickly. Additionally, several customers mention the tools emit a weird electrical smell.
4. Auto-Braking Safety: Confidence for the First Cut
That moment when you release the trigger and the blade keeps spinning? It's not just dangerous; it creates anxiety. Modern auto-braking safety systems stop the blade in under two seconds, dramatically reducing kickback risks and giving you confidence to start cuts properly.
Why this matters for precision:
- You can focus on guiding the cut rather than watching for blade stoppage
- Reduced vibration during braking means less chance of disturbing your workpiece
- Immediate stop means you can safely reposition for your next cut without waiting
One contractor I worked with had developed a habit of shallow-starting cuts (starting the saw already in the material) because he feared kickback. After switching to a saw with reliable auto-braking, he corrected this dangerous habit and his cuts improved dramatically. Safety isn't just about avoiding injury, it's about enabling proper technique.
5. Bluetooth Connectivity: Your Cutting Coach in Your Pocket
Circular saw bluetooth connectivity does more than just look cool; it provides real-time feedback most beginners desperately need. Through a companion app, you can:
- Monitor blade speed during cuts (too slow = burning, too fast = tear-out)
- Receive vibration alerts when your feed rate is inconsistent
- Track battery life to prevent mid-cut power drops
- Access material-specific cutting guides
Don't make this common mistake: Don't rely solely on the app while cutting. Use it for setup and troubleshooting, not as your primary focus during the cut itself. One DIYer I advised kept checking his phone mid-cut and ruined three pieces before realizing he needed to internalize the feel first.
6. Practical Steps for Making Smart Tech Work for You
Technology alone won't fix bad habits. Here's my tried-and-true sequence for beginners using smart saws:
- Square the shoe to the blade (use the square-cutting method in your manual)
- Set depth using the digital gauge, then verify with scrap
- Mark your cut line with a story stick, not a tape measure
- Clamp a straightedge guide, never freehand precision cuts
- Test the tech: check laser alignment and app connection on scrap first
- Make your cut while focusing on consistent feed rate
This sequence works whether you're using a $150 DIY saw or a professional model. Remember my Saturday class? Every student who followed this sequence got square cuts on their third attempt (regardless of their saw's price tag).
7. The Real Secret: Technology + Technique
The most advanced smart circular saw features won't compensate for poor fundamentals. But when combined with proper setup and technique? That's when magic happens. I've watched homeowners achieve cabinet-maker precision by combining:
- A quality straightedge guide
- Proper blade selection for the material
- The digital depth gauge for consistent penetration
- The laser guide for visual feedback
The best tech doesn't make you look professional; it helps you be professional. As I tell every beginner: set up to succeed. The smart features aren't crutches; they're accelerators for good technique.
Your actionable next step: Before your next project, spend 15 minutes practicing the setup sequence on scrap wood. Test each smart feature individually: get comfortable with how the laser aligns, how the digital depth gauge responds, how quickly the brake engages. When you understand what each feature does and doesn't do, you'll stop fighting your saw and start getting the precise cuts you deserve. Your first perfectly square cut is just one proper setup away.
Related Articles