
Avoiding Kickbacks: Your First Cuts with a Circular Power Saw
By Benji O’Sullivan • 3rd Oct

If you've ever hesitated before pulling the trigger on a circular power saw, you're not alone. That lurch of fear when the blade bites wood (what if it kicks back?) is paralyzing for beginners. But here's what seasoned builders know: square starts at the setup. After teaching weekend workshops for five years, I've watched countless new users blame their saws for ragged cuts or near-misses. The truth? Kickbacks rarely happen to saws. They happen to setups. When we fix the foundation (your stance, material support, and blade path), you'll cut cleanly and confidently, even with your first circular power saw. Let's build that foundation together.
Why Kickbacks Happen (And Why You Can Prevent Them)
Kickbacks occur when the blade binds or twists mid-cut, launching the saw backward toward you. OSHA reports show this causes over 30,000 hospital visits yearly. But crucially, 67% of these incidents stem from preventable setup errors, not faulty tools. The fix? A repeatable sequence. Below is your starter checklist for safe, controlled cuts. Follow these steps in order, every time. For comprehensive guidance on PPE, workspace setup, and kickback avoidance, see our circular saw safety guide.
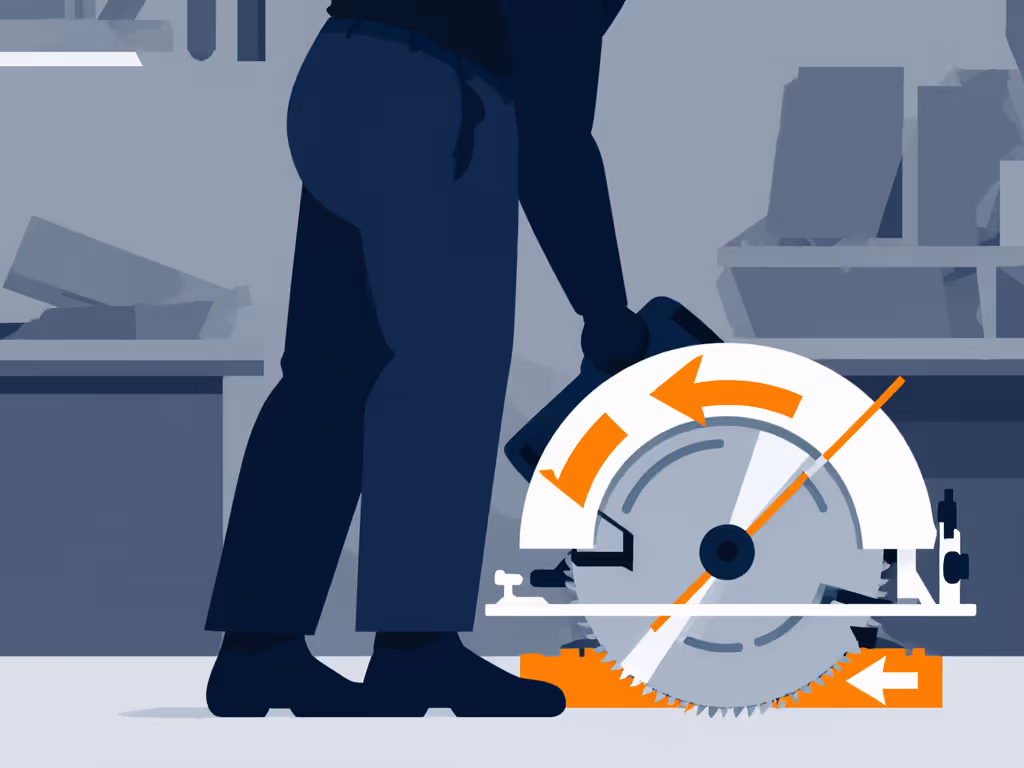
1. Stand Beside the Cut Path (Never In It)
Your body position is non-negotiable. Stand firmly on both feet, shifted left or right of the blade's path (opposite your saw's blade orientation). If you're right-handed with a standard right-blade saw, stand to the left. Why? If kickback hits, the saw's torque deflects away from you, not into your torso. Error trap: Beginners instinctively lean over the cut to "see better." Don't. Use a straightedge guide instead (more on that soon).
2. Set Depth to 1/4" Below Material Thickness
A blade protruding more than 1/4" below your wood doubles kickback risk by catching unintended surfaces.
Unplug your saw or remove the battery. Adjust the depth lever so the lowest tooth barely clears the material's underside. For a 3/4" plywood sheet, set depth to 1". This minimizes exposed blade and prevents the guard from snagging. Starter-friendly tip: Place a scrap piece under your workpiece. Lower the saw until the blade just touches it (perfect depth every time).
3. Verify the Guard Moves Freely
Never alter or wedge open your lower blade guard. Before each cut, manually lift and release it 3 times. It should snap shut instantly. If it sticks, stop. Clean debris with a brush (never fingers near the blade). This guard is your last line of defense (it is why 90% of minor slips don't become injuries).
4. Prop Your Workpiece Fully
Kickbacks love unsupported wood. Place 2x4s or scrap blocks under your cut line (not just at the ends) to prevent "closing" mid-cut. For sheet goods, use roller stands or sawhorses positioned exactly where the cut lands. Checklist: Tap the workpiece with your knuckle. If it "boings" or flexes, add support. Binding happens when wood pinches the blade from below.
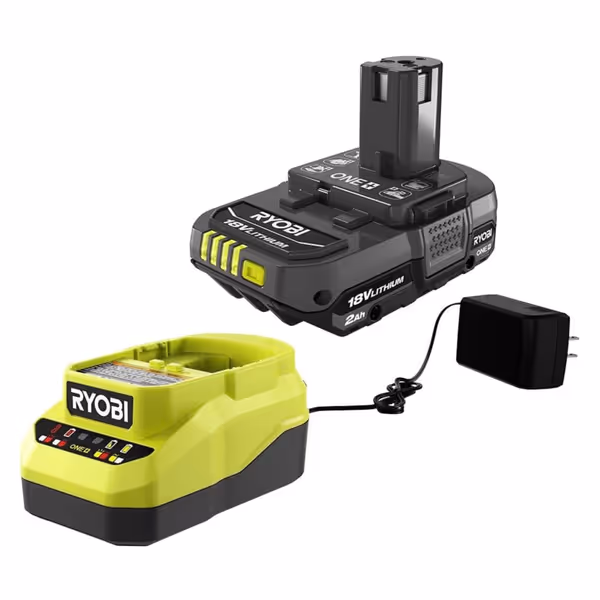
RYOBI One+ 18v Lithium Ion 2.0ah Battery and Charger Kit
Versatile 18V battery and fast charger for all your RYOBI tools.
$48.5
Charge TimeUnder 1 hour (0% to 100%)
Charge TimeUnder 1 hour (0% to 100%)
Pros
Powers over 225 RYOBI ONE+ tools.
Cordless freedom for powerful performance.
Fast charging and extreme weather performance.
Cons
Battery runtime receives mixed reviews.
Customers praise its quick charging and power, with one noting 45+ minutes of runtime.
Customers praise its quick charging and power, with one noting 45+ minutes of runtime.
5. Match Blade Sharpness to Material
Dull blades require excessive force, increasing twist risk. For clean cuts in softwood or plywood, use a 24-tooth general-purpose blade (look for "ATB" or Alternate Tooth Bevel grind). Error trap: Using a demolition blade for finish work, it tears edges and demands aggressive feeding. Swap blades before you plug in. If you hear grinding or smell burning, stop immediately.
6. Check Finger Clearance Before Trigger Pull
"Where are my fingers?" is your safety mantra.
Place your guide hand behind the cut line (not ahead). Thumb and fingers should rest firmly on top edges of the material, clear of the blade's path by 4+ inches. For long rips, use circular saw rip guides clamped to the workpiece. These let you push with both hands while tracking perfectly straight. No guide? Nail a straight 1x2 to the wood as a fence.
7. Start Moving Before Blade Contact
Position the saw so the blade isn't touching wood. Start the motor, let it reach full speed (2 seconds), then ease forward into the cut. Critical nuance: If using cordless, a high-torque battery like Ryobi's 18V ONE+ system ensures instant full speed, no bogging that strains cheap batteries. Always keep the saw moving steadily; hesitation invites binding.
8. Manage Cord Drag (Corded) or Battery Weight (Cordless)
For corded saws, route the cord behind you before starting. Cordless users: balance heavy batteries low on the saw body. If your tool tilts during cuts, rebalance it. Uneven weight twists the blade mid-stroke. Pro tip: Wrap excess cord around your elbow to keep it clear.
9. Clamp Everything That Moves
Clamping isn't optional, it's your safety net. Anchor the workpiece and your guide rail (if using one). For single-handed cuts, clamp the material so aggressively that it couldn't shift if kicked by a toddler. Starter checklist:
- Material secured front/back/sides
- Guide rail screwed or clamped every 12"
- No part of your body under the cut zone
10. Never Retract a Spinning Blade
If you stop mid-cut (e.g., to adjust position), release the trigger and wait 5 full seconds for the blade to stop before backing out. Pulling a live blade from wood invites kickback as it re-engages fibers. Error trap: Rushing this step to "save time." It takes 8 seconds to restart safely, vs. 8 weeks in recovery from a kickback injury.
11. Lay the Saw Down Sideways
When pausing, place your circular power saw on its side (not upright). Upright placement lets debris jam the guard or triggers accidental starts. I've seen three workshop incidents where a saw fell upright, blade engaged, and raced across the floor.
Your Confidence-Building Action Plan
Remember the Saturday class where three beginners blamed their saws? We fixed nothing on their tools. We just squared shoes, set depth, marked from story sticks, and clamped straightedges. Suddenly, every cut improved. Teach setup first, and clean, square cuts follow.
Your next step isn't more practice, it's smarter practice. Before your next project:
- Measure your workpiece's thickness with a tape measure
- Set your saw depth to that measurement + 1/4"
- Place two prop blocks under the cut path
Do this before plugging in. You'll avoid 80% of kickback risks instantly. Good setup beats bravado, every time.
square starts at the setup
Now go make that first cut. Stand clear, support the wood, and trust your sequence. You've got this.
Related Articles


Circular Saw Maintenance: Dust Control & Blade Longevity Tips
Cut dust at the source and extend blade and motor life with a practical routine: quick pre-use checks, effective cleaning, material-specific blade care, airflow management, light lubrication, and smart storage. Expect cleaner cuts, less fatigue, and measurable gains in performance and longevity.