Acoustic Panel Circular Saw Cutting: Precise, Low-Dust Cuts
By Aisha Ndlovu • 25th May
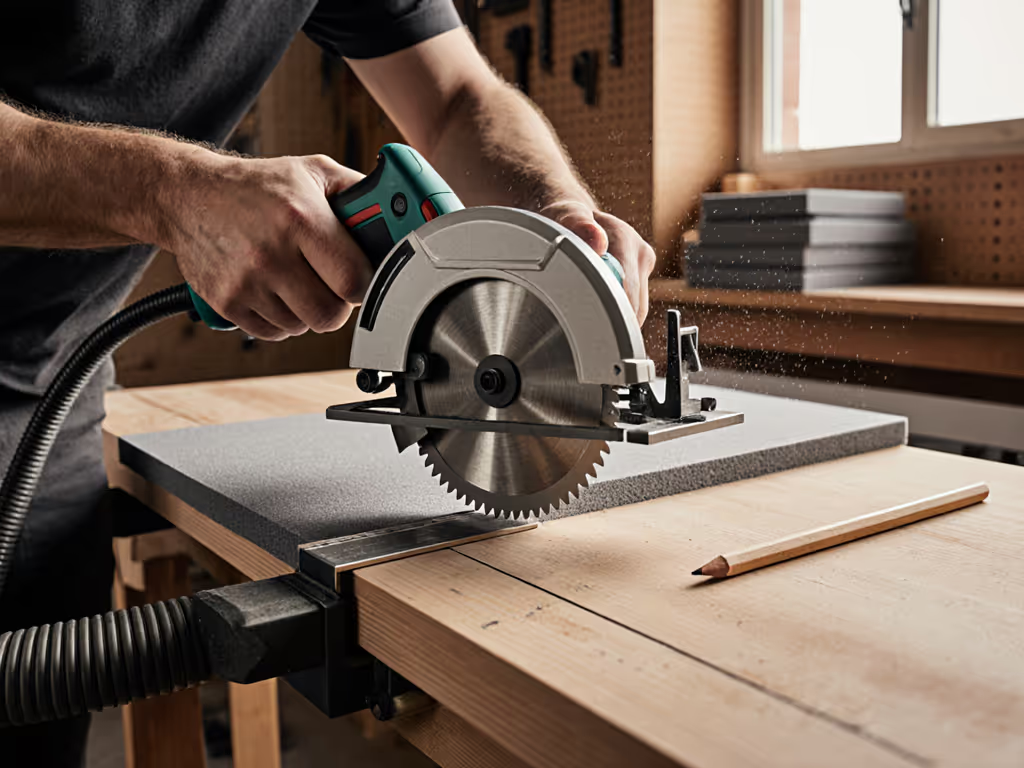
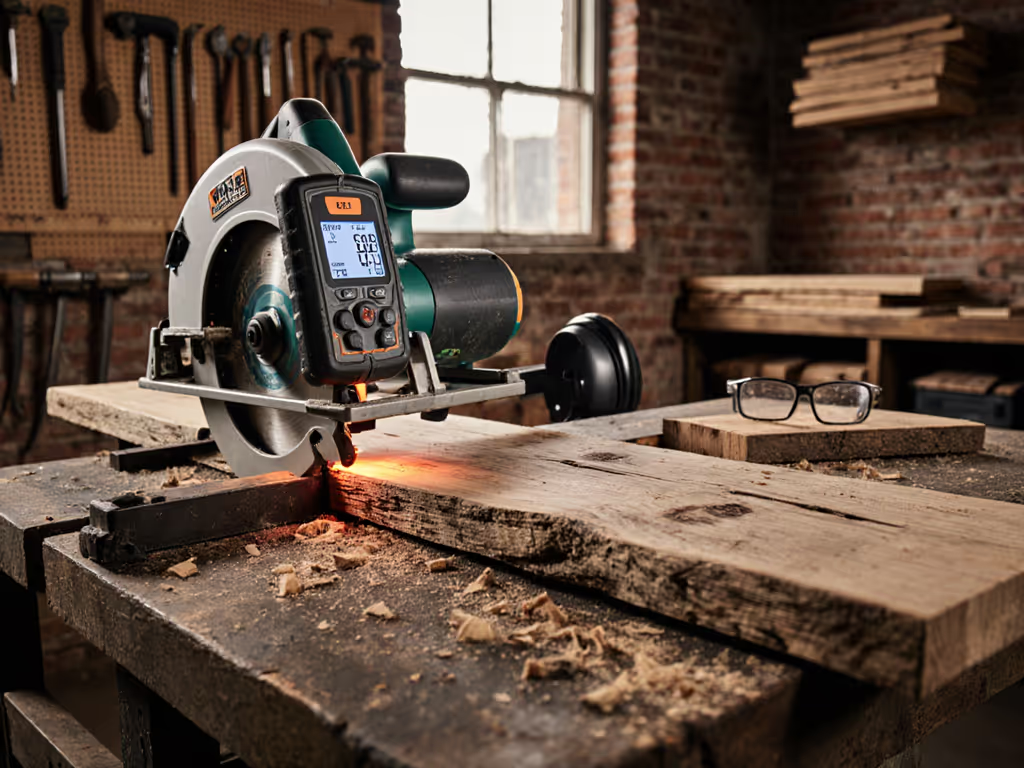
When you get acoustic panel circular saw cutting right, you get straight, repeatable joints, intact facing, and a workspace that doesn't choke you or your clients. Add in good soundproofing material cutting techniques, and you get something rarer: comfort at the saw, predictable results, and fewer callbacks.
Comfort reduces errors; low strain yields cleaner lines.
Most acoustic panels are a sandwich: a decorative face (slats, fabric, veneer) over a softer, sound-absorbing core. That mix tears, crushes, and sheds dust in different ways than plywood or framing lumber. Treat them like regular sheet goods and you get chip-out, fuzzy edges, and air full of fibers. Treat them like the hybrid materials they are and you can cut them cleanly, even in a garage or occupied space. For the science behind capturing sub-100-micron particles and keeping indoor air clear, see our dust capture physics guide.
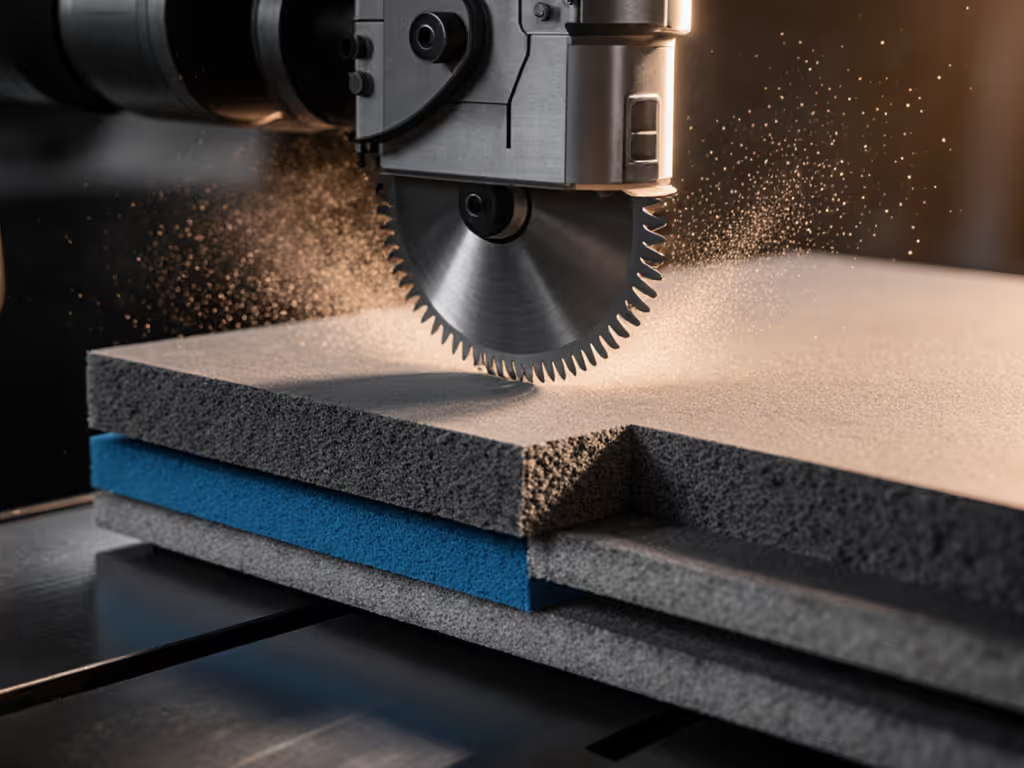
Below is a deep-dive FAQ you can treat like a cut recipe book for panels, especially when you need low dust and high precision.
FAQ 1: What makes acoustic panels tricky to cut with a circular saw?
Q: Why do my acoustic panels chip, fuzz, or crush when I use a circular saw?
A: Acoustic and sound-absorbing panels combine fragile faces with soft cores, so they fail differently than solid wood.
Typical failure modes:
- Face chip-out: Wood slats or thin veneer splinter at the exit side of the blade.
- Fabric or felt fraying: The saw teeth pull fibers up and out at the cut line.
- Core crushing instead of cutting: Mineral wool or fiberboard can deform under the baseplate if the panel is unsupported.
- Wandering bevel: Flex in the circular saw baseplate and uneven support cause the blade to lean, leaving out-of-square edges.
Acoustic panels also tend to be long and relatively thin, which encourages vibration if they're not fully supported and clamped. That vibration shows up as a fuzzy, scalloped edge and more dust in the air.
FAQ 2: Which blade works best for sound-absorbing material cutting?
Q: What circular saw blade should I use on acoustic and sound-absorbing panels?
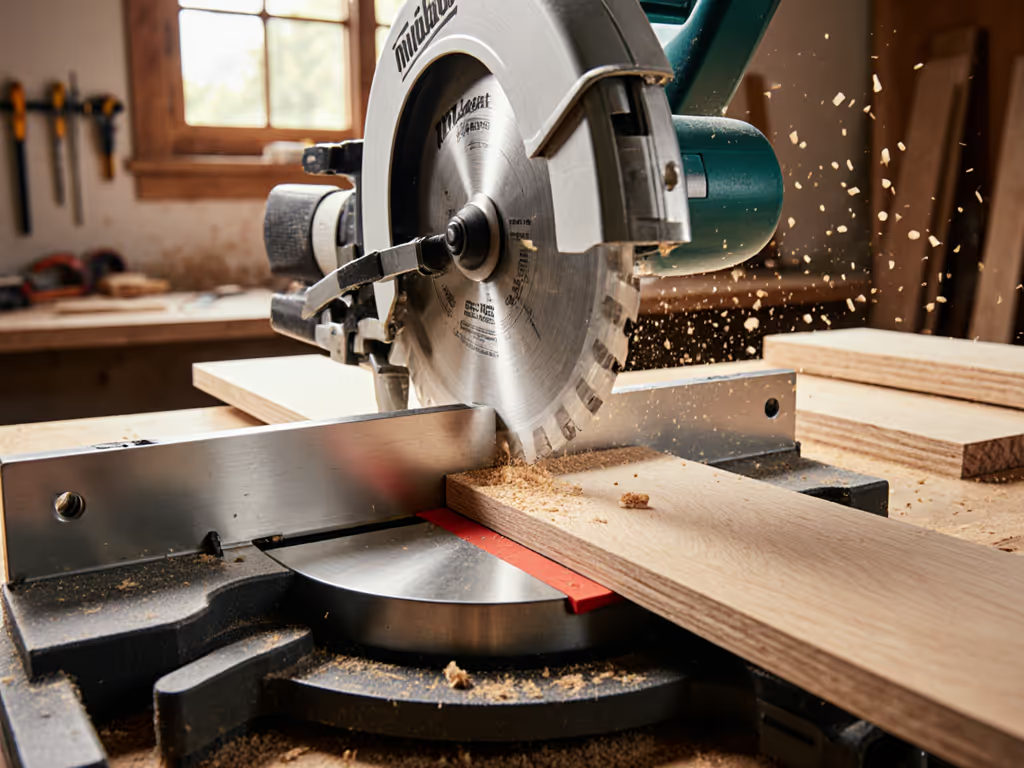
A: The rule is: fine teeth, sharp carbide, and no aggressive framing blades. If your blade isn't labeled "fine tooth" or for clean cuts, don't use it. For more ways to avoid splintering and fuzz on veneers and slats, check our tear-out prevention techniques.
From both wood acoustic planks and slatted acoustic panels, the cleanest cuts come from:
- Fine-tooth wood blades: Panels cut best with a fine-tooth blade rather than a coarse framing blade.
- Sharp, undamaged carbide tips: Dull teeth tear veneer and slats instead of slicing them.
- Thin kerf where possible: Less material removal means less force and vibration for the same feed rate (experience-based best practice).
On a typical 6 1/2 to 7 1/4 inch circular saw, that usually means a 40 to 60T crosscut or plywood blade (experience-based). Treat acoustic panels like you would high-end veneer: prioritize tooth count and sharpness over speed.
To protect the face:
- Apply painter's tape over the cut line on the visible side to help prevent chip-out and scratches from the saw's foot.
- Let the blade reach full speed before entering the material, then feed steadily and slowly so teeth clear chips instead of prying them out.
For panels, think "glide, don't shove." Forcing the saw compresses fibers instead of slicing them.
FAQ 3: How should I set up for precise, low-dust cuts with a circular saw?
Q: What does a good indoor setup look like for acoustic panel circular saw cutting?
A: Precision and low dust both start at the setup, not the cut.
1. Support the panel fully
- Lay panels flat on a stable surface.
- Use rigid foam, sacrificial boards, or wooden battens under the cut so the panel can't sag as you cut.
- Keep the panel face you want to protect either face-up with tape, or follow manufacturer guidance. Many slatted panels are cut from the back side for the cleanest visible edge.
2. Mark from the wall, transfer to the back
- Measure at both ends of the panel (especially in older rooms where ceiling/wall lines wander) and transfer those measurements to the back of the panel with pencil or chalk.
- Connect marks with a straight, clear layout line.
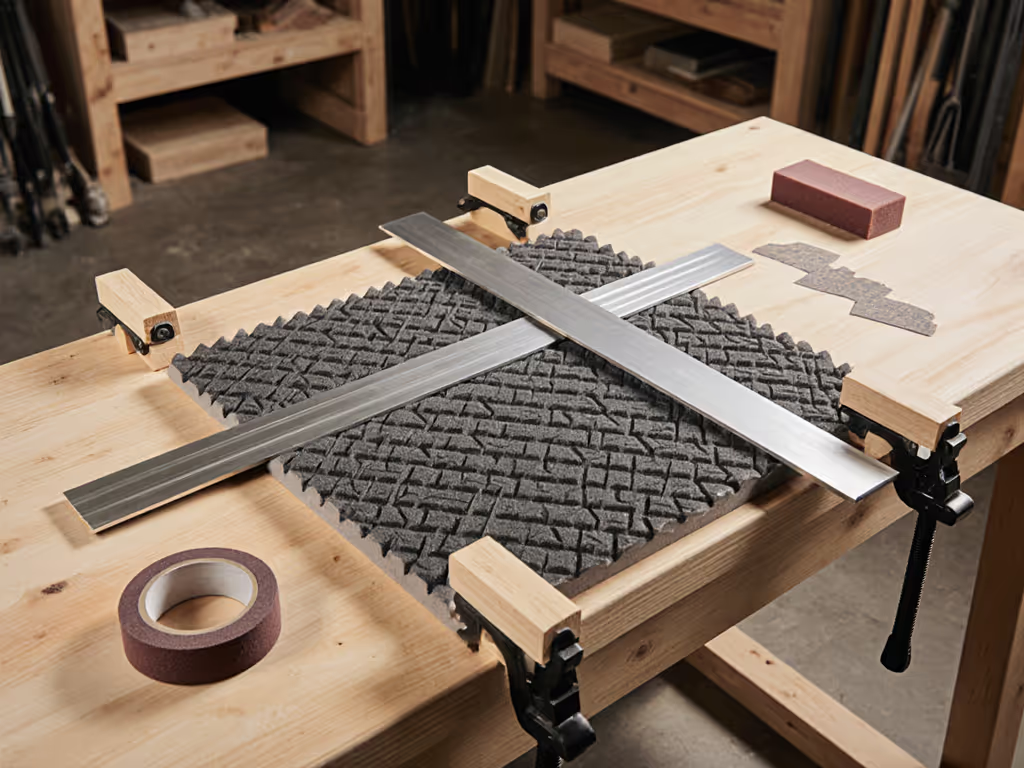
3. Use a rigid guide, not your wrist
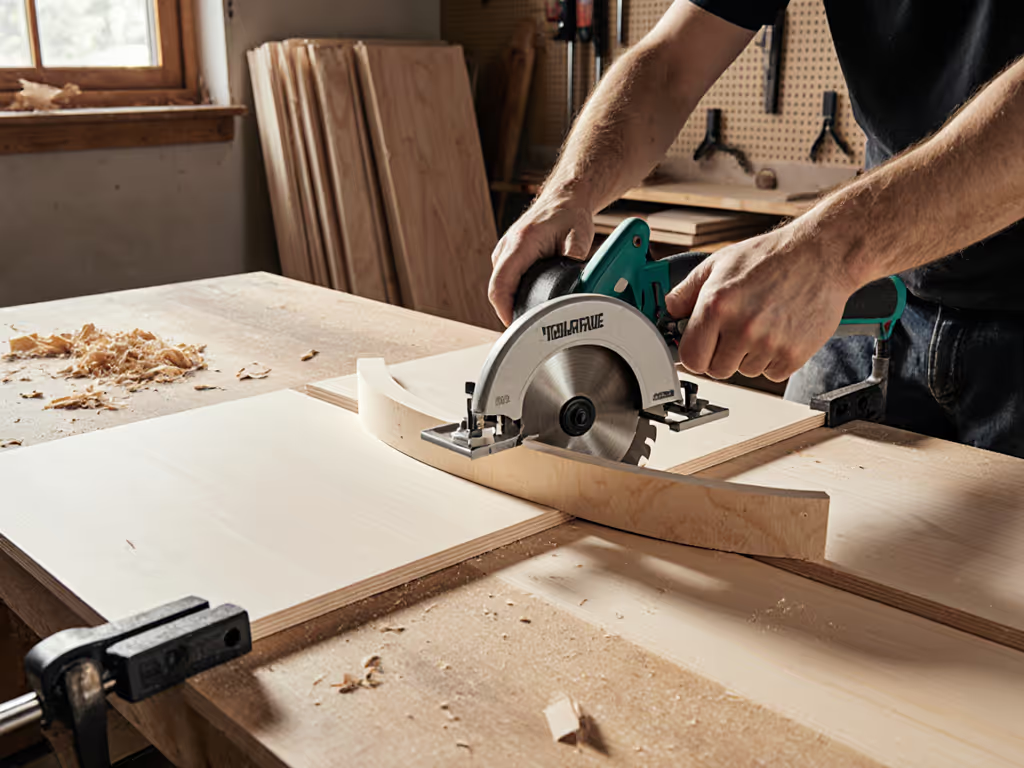
- Clamp a cutting guide or straightedge parallel to your line, offset by the distance from blade to baseplate edge.
- Check that clamps don't interfere with the saw motor or dust port before you start.
Straightedges beat freehand every time for avoiding wander and bevel errors. For jig options and offsets that deliver track-saw straightness, see our repeatable rip-cut guide.
4. Stabilize the saw itself
- Check for baseplate flex or play; a wobbly shoe will fight you and guarantee out-of-square cuts.
- Tighten all adjustment screws (depth, bevel) firmly.
5. Control dust at the source
This is where comfort and performance fuse. A circular saw on acoustic panels throws fine fibers that hang in the air. I once did a quick "it's just two cuts" job in a closed garage and learned how fast that dust can travel when a child in the next room started coughing and a neighbor knocked on the door about the haze in the air. Since then, every "quick cut" gets a dust plan.
Practical steps:
- Connect a vacuum or dust extractor to the saw's port when available (experience-based).
- Keep the hose supported so it doesn't drag your wrist out of line.
- If cutting indoors without extraction, slow down the cut and open a window or door; consider a box fan pulling air out of the space (experience-based).
Square starts at the setup, and so does clean air.
FAQ 4: How do I get track-saw-like accuracy from a circular saw?
Q: I need noise reduction panel precision cutting - edges straight and square enough to look like track-saw work. How do I do that with a circular saw?
A: You combine a zero-guess setup with calm, consistent body mechanics.
Key steps:
- Layout carefully
- Mark both ends of the panel and, if the wall is out of line, add a middle measurement so your cut follows reality, not theory.
- Clamp a straightedge
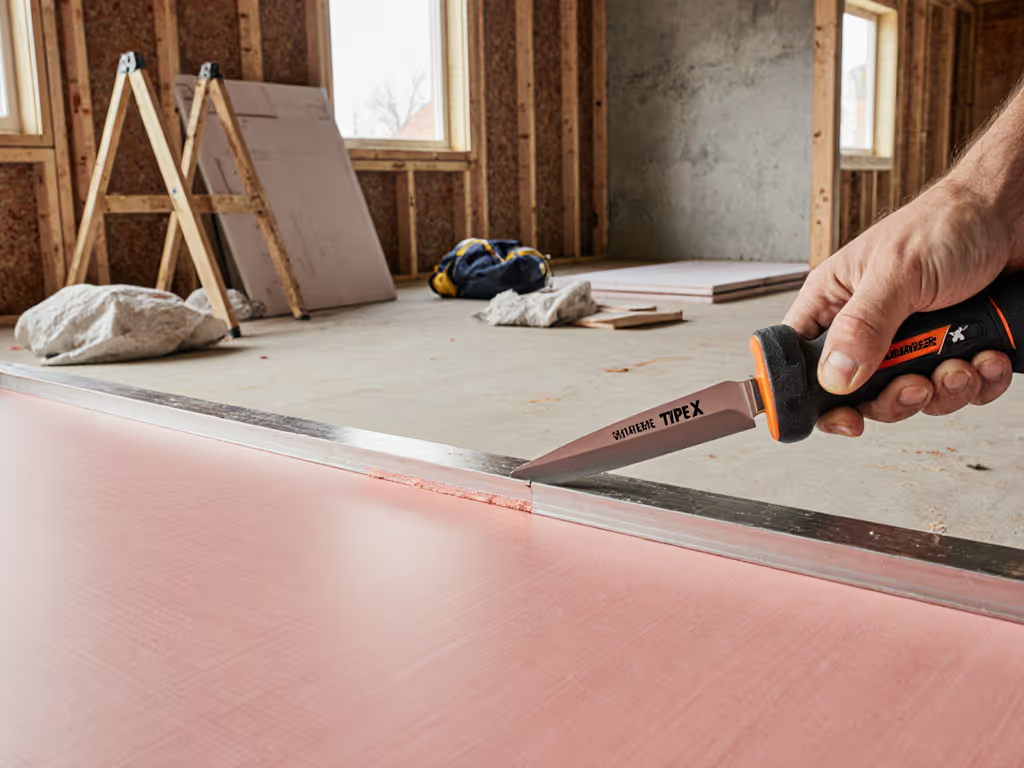
- Use an aluminum level or guide rail as a fence, clamped firmly at both ends.
- Take a shallow scoring pass (optional)
- On delicate veneers or slats, a very shallow first pass followed by a full-depth cut can reduce chip-out.
- Body position and feed rate
- Stand so your shoulders can follow the full length of the cut without twisting. Feet staggered, elbows loose.
- Watch the baseplate against the guide, not just the blade, to keep consistent pressure.
- Maintain a slow, steady feed. If the motor pitch rises sharply or you feel the saw "climbing," you're pushing too fast.
slow is smooth, smooth is fast
Aim for the cut to be square within about 0.5 to 1 mm over a 600 mm panel - tight enough that seams disappear once installed (experience-based target).
FAQ 5: How do I control vibration for acoustic panels?
Q: Panels buzz and chatter under the saw, and I feel it in my hands. How can I improve vibration control for acoustic panels?
A: Reduce both material vibration and tool vibration.
Material control:
- Support the panel as continuously as possible along the cut line.
- Use clamps near the cut (but clear of the blade path) to pin the panel to the work surface.
- Avoid cutting across gaps; if the panel bridges an opening, it will act like a drum.
Tool and body control:
- Let the blade and motor reach full speed before contacting the panel.
- Use both hands with a relaxed grip; death-gripping the saw transmits more vibration through your forearms and encourages steering corrections mid-cut (experience-based).
- Keep your stance balanced so your weight moves with the saw instead of your shoulders doing all the work.
When vibration drops, your line steadies and fatigue falls. For measured data on handles, shoes, and motor mounts that cut vibration at the source, compare our vibration reduction tests. Over a day of panel work, you'll feel that in your wrists, neck, and the quality of your seams.
Comfort reduces errors; low strain yields cleaner lines.
FAQ 6: How do I minimize fraying, chip-out, and post-processing?
Q: Even with a fine blade, my panel edges look fuzzy. What finishing steps should I plan for?
A: Plan on a light, clean-up workflow, not heavy sanding.
Use these steps pulled from acoustic plank and panel practice:
- Apply painter's tape along the cut line on the face side before cutting.
- Cut with a fine-tooth blade at a moderate feed speed, following a clamped guide.
- For some slatted panels, cut from the back side so any minor tear-out lands on the hidden face.
- After cutting, remove tape slowly, peeling toward the cut to avoid lifting fibers.
- Lightly dress the edge with fine-grit sandpaper, sanding block, or a sanding sponge just to knock down fuzz.
On high-visibility edges, this extra minute per cut often saves you from filling and touching up later.
FAQ 7: What about outlets, lights, and other cutouts - should I still use a circular saw?
Q: I need to cut holes for sockets or lights in acoustic panels. Is a circular saw the right tool?
A: Use your circular saw for straight perimeter cuts only, and switch tools for cutouts.
Established practice for acoustic planks and panels recommends:
-
For circular cutouts (downlights, small speakers):
-
Mark the position.
-
Use a hole saw of the required diameter.
-
Drill from the finished face for the cleanest visible edge, with painter's tape applied if needed.
-
For rectangular cutouts (sockets, switches, vents):
-
Tape the area and trace the opening on the tape.
-
Drill a pilot hole inside the line, large enough for a jigsaw blade.
-
Drill additional holes at each corner so the jigsaw can turn cleanly.
-
Use a fine-tooth jigsaw blade, cut slowly, then clean up edges with fine sandpaper or a wood file.
This combo keeps your circular saw in its lane (long, straight cuts) and gives you control where the geometry gets tight.
FAQ 8: What are the key safety and comfort practices for this kind of work?
Q: How do I stay safe and reduce strain when cutting acoustic panels with a circular saw?
A: Think in three layers: lungs, ears, and body mechanics.
-
Dust and lungs
-
Use a dust extractor or shop vac whenever possible to capture airborne fibers at the source (experience-based, aligned with general dust best practice).
-
Wear a well-fitted respirator or at least a quality dust mask if you're in a closed space.
-
Noise and neighbors
-
Circular saws are loud; hearing protection is essential for you and scheduling consideration for clients and neighbors (experience-based).
-
Cutting in shorter sessions with breaks is easier on both ears and nerves.
-
Body and posture
-
Set your work height so your back stays neutral; no deep forward bend for long cuts.
-
Position panels so you're pushing the saw away from your body in a straight line, not reaching across or twisting.
-
Keep cords and hoses routed so you're not fighting them with your wrists.
And non-negotiables: don't bypass guards, don't remove safety features, and don't cut freehand in mid-air. Clamp, support, then cut.
Where to go next: from single cuts to a repeatable "panel kit"
If you handle more than a few panels a year (for studio construction circular saw techniques, home theaters, or office fit-outs) it's worth formalizing a simple "panel kit" you can grab and go:
- One circular saw with a known, flat baseplate.
- One fine-tooth blade dedicated to panel and sheet-good work.
- A straightedge or guide that fits your saw.
- Painter's tape, clamps, and a sanding sponge.
- A compatible vac hose and basic PPE.
Run a few test cuts on offcuts, measure your squareness and edge quality, and tune your process. Once you have a recipe that gives you predictable, first-try results, write it down for helpers or apprentices, because slow is smooth, smooth is fast, especially when comfort, clean air, and clean lines all matter as much as getting the job done.
Related Articles